


-
×
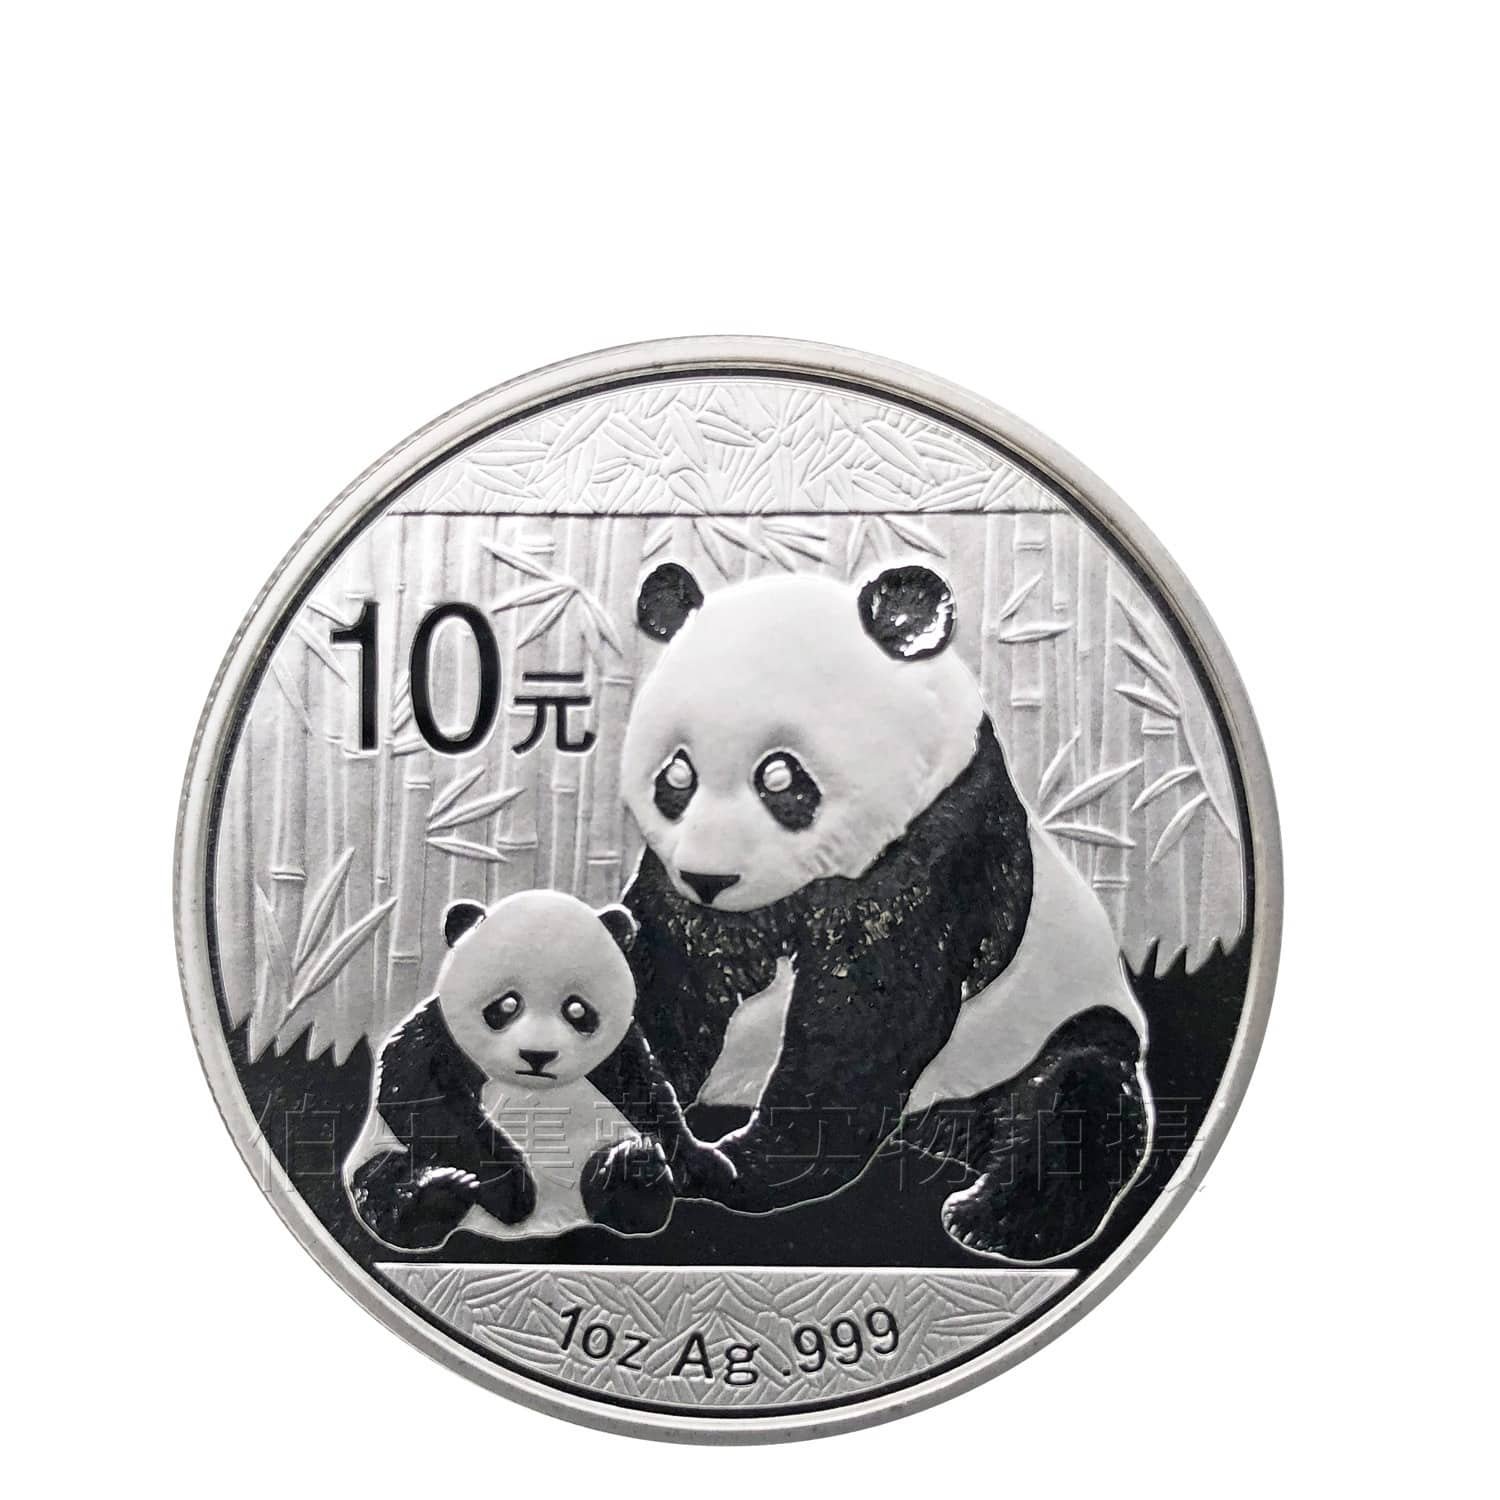
 1oz kangaroo silver coin 1 × $101.99
 1oz kangaroo silver coin
 Blog
What are Silver Ingots?
We all know for sure what are silver ingots, we also know their value now and through time.
But today we will dive a bit deeper and also see how they’re made.
Are you ready for it? So let’s go!

A silver ingot is a pre-determined weight, size, and shape metal casting of pure silver.
Pouring the metal into a cast while it is still liquid generates bars, bullion, plates, or sheets, depending on the type of cast utilized.
When chilled, these silver ingots make transporting and storing silver a breeze.
How to make a cast for silver ingot?
https://www.youtube.com/watch?v=8OEj-Hoz3Dg
An ingot is a bar or plate of metal that is formed into precise weights to serve as a store of value in metallurgy.
Precious metals such as silver are frequently molded into ingots of specific weights to serve as a store of value.
Silver ingots are primarily employed as a store of value for silver as a commodity; for example, a silver investor would purchase a number of ingots with the intention of selling them at a later date.
So, this is the start of the section on how different materials are prepared, as well as, hopefully, some of the varied ways you prefer to use.
Casting a metal ingot may appear to be a straightforward process—grab some metal, apply heat, and put it into a suitable vessel—
but it does necessitate a certain level of attention and experience to execute it effectively.
The first thing you should think about is the material you’ll be casting with.
Not all metals behave in the same manner, and each has its own set of properties that must be considered before we begin (melting temperature, purity, compatibility and this barley scratches the surface).
In this case, I’m going to discuss fine silver, which is as close to pure silver as we can go; it’s 99.99 percent pure silver.
It’s really soft, works quickly, is forgiving (in terms of metal), and doesn’t tarnish readily.
Now that we know what kind of material we’re dealing with, we can start thinking about the next stages.
Because silver melts at a relatively low temperature (1763°F), our tank regulators must be adjusted correspondingly.
Yes, we want the material to melt, but we also don’t want to overheat it and “cook” it by being too forceful.
If you hit your metal with a strong enough heat, it can “boil” off some of the metal, causing it to physically evaporate in the form of dazzling sparks.
When working with precious metals, you want a flame that is huge and hot but not too strong and oxidizing; instead, you want it to be nearly a little reducing and a little “bushy” (not a super fine tip on the flame).
normally set propane fuel regulator to roughly 5psi and oxygen regulator to no more than 10psi to achieve this (typically work between 5psi and 10psi sometimes lower, a little pressure goes a long way).
Weight your silver
Now it’s time to figure out how much material you’ll be casting. When making an ingot that will be processed into different forms, this isn’t a critical phase, but it can be if you’re making a “charge” for a lost wax casting or mold, where you need a precise amount of material to fill a void.
Another example of work is that we prefer to cast ingots into one or two ounce ingots so that we can easily keep track of how much material we’re processing.
Important:
Make sure your work area is relatively flat and made of appropriate materials; if your ingot mold is not flat enough, your material will pool on one side (the high side).
And possibly spill over, causing a mess and waste; alternatively, your material will flow to the other side (the low side) and be stretched thin (these issues are most concerning when casting a wire ingot like it will be doing here but may also be relevant with other molds)
It’s also crucial to understand what kind of mold you have and how it operates. Molten metal frequently adheres to other metals.
Many molds must be lubricated in order to provide a barrier that prevents the two metals from adhering to one another.
Before casting into the molds, we normally rub a little motor oil over them with an old brush.
Always use a torch and hot molds on suitable surfaces and in proper work spaces.
Many people use gloves and special safety eyewear to complete this operation; safeguarding your body is always a smart idea.
That gloves in this situation can more harm than good, so exercise caution near hot working areas and keep a pair of Kevlar gloves on hand just in case.
Same with eyewear; sometimes it helps, and other times it gets in the way; for this reason, prefer goggles with a flip screen that allow you to shield your eyes when you want to, while still being able to see in the daytime.
It’s now time to start cooking.
Start by lubricating your ingot mold, lighting your torch, and preheating your ingot mold and crucible.
This is a critical stage because it permits the ingot mold and crucible surfaces to become hot and ready to absorb the material, as well as preventing the material from being overheated before the crucible reaches the proper temperature.
If you don’t want to make your own ingot, take a look at this one. And go for it before it’s too late!
It really is important!!! If you don’t pre-heat your ingot mold, your material will be shocked into a small, dense crystalline lattice structure, making it weak, delicate, brittle, and prone to cracks, inclusions, and bubbles.

Pre heat everything first
Pre-heat your crucible as well; the hotter the better; you should be sweating a little if you’re doing it correctly.
Note: Take note of the vibrant flame, especially the greenish hue; this green hue is caused by the burning flux (among other things that may find their way into your crucible), but if you’ve ever cast copper in a foundry, this green hue is also a sign of a good reducing environment.
This atmosphere is critical for preventing copper from oxidizing in the air, especially in a hot fire that requires oxygen to burn.
Continue to heat your crucible until it reaches this temperature.

You’re ready to add your material once your crucible has turned a brilliant orange/red color.
Note: If we’re making an alloy, such as sterling silver or gold, the general approach I follow is to start with the material with the highest melting point and then progressively add the other metal/s in little amounts, starting with the material with the highest melting point.
As an example, suppose we were constructing a hard 12K gold alloy with 25% copper, 25% silver, and 50% gold.
We’d start by melting the copper (1981°F), then add little amounts of gold (1945°F), and then small amounts of silver (1761°F) until the entire amount of material has been added and melted; if done correctly and thoroughly agitated, the mixture should be uniform and molten throughout.
It’s also worth noting that metal smiths frequently cast an alloy ingot two or three times to guarantee uniform distribution and color.

Now that we have our material in our nice warm crucible, we can start heating and melting it.
Melt your Silver
The material will begin to glow a bright orange/red, similar to the crucible, and it may become difficult to see what is going on inside the crucible.
If you wish to protect your eyes while still seeing the action, a pair of specially tinted goggles or safety glasses may be useful.
If you see sparks shooting out of your crucible, it’s time to pull back your flame, add more fuel, or reduce the oxygen.
You want your metal to melt as evenly as possible over time.

You’re almost there when you observe an extremely reflective/shiny molten silver bead-like lump at the bottom of the crucible.
A sprinkling/dash of flux into the crucible now would be an excellent time to cleanse the material of any unwanted impurities.
Simply remove the flame and sprinkle the flux into the crucible for a few moments (as illustrated above) (watch your fingers as everything should be very hot by now).
Now we need to make sure that all of the materials are melted; to do so, we usually employ a test which is call the jiggle test, which involves agitating the crucible by jiggling the handle a little.
You should be set to go if you see the material whirling around the crucible freely, bouncing and jiggling with surface tension and ripples (like water in a glass).
To check for any clusters of not quite molten material, poke the bottom of the crucible with a steel rod (or clothes hanger).
This should be done rapidly to avoid melting the rod into the alloy.
You can start casting as soon as you’re sure all of the materials are molten.

Now comes the exciting and sometimes terrifying phase of the process: pouring this valuable molten substance you’ve just been sweating over and making sure you don’t miss!
The most essential thing to remember is that you want the metal to be entirely molten when it enters the mold and stay molten until it begins to solidify (you don’t want it to solidify while you’re pouring).
Keep your flame on the edge of the crucible on the side you’ll be pouring from to help transfer the material from one jar to the next.
Pay attention to the position of the flame in the photo; it is heating the mold as well as the crucible.
I’m pouring to the left, my right hand holding the crucible and my left hand holding the torch).
Once the flame is at the proper position, tilt the crucible to the side, and the metal blob should simply slide into the corner.
Allow the material to flow up the side and into the mold by tipping the crucible onto its side.
The crucible’s edge should be directly above where you want the material to fall or flow into.
Begin pouring into one side of the mold and let the material to flow smoothly to the other end of the hollow.
It’s a good idea to get a few things ready to cast at once so you can take use of your lovely heated mold and crucible.

Allow your ingot to cool and solidify a little; if you’re quick and good enough, you should be able to watch your metal solidify and observe crystal lattice structures growing over the ingot’s surface.
After everything have cooled down and your ingot has stopped glowing, you should be able to turn your mold on its side and have your ingot drop out.

Allow your ingot to cool slowly so that all of the crystal structures have enough opportunity to assemble themselves into huge, well-organized patterns.
This is an important step for some materials that can’t take rapid cooling (quenching), but it’s also a good idea for all materials (unless you’re attempting to achieve anything unique), because we always want our material to be strong and properly shaped.
Once the ingot has cooled to room temperature, it should be placed in a warm “pickle” bath to remove any undesired residues or flux that may have spilled out of the crucible with your material.
Two ingots are “pickled” within my crockpot, which is set to low heat in this photo.
It’s a good idea to rinse the ingot in clean water after pickling and dry it with a clean rag or paper towel (preferably a rag that you can wash and re-use).


And your ingot is ready to go once it’s clean and dried.
If anyone is interested, the nearest ingot (on the bottom) is a two ounce ingot that was cast after the one ounce ingot (above) while the crucible and mold were still hot.
Conclusion
We have taken a lot of time to bring you the most comprehensive article on “What are silver ingots?”.
We hope you’ve enjoyed and appreciated learning more about this topic.
Don’t hesitate to subscribe to our private club to be, you will receive as a gift a 15% discount code valid on the whole store.
You will also receive a sneak preview email when a new post appears on full-silver.com